This blog post describes how I deployed FreshRSS on my Synology NAS.
Introduction
A recent article in c’t inspired me to try RSS readers / content aggregators again. After two months of usage I enthusiastically conclude that FreshRSS is now the only website I read on a daily basis.
If you also want to deploy FreshRSS on Synology DSM or want to create a similar setup then the notes in this post might be usefull to you.
I tried other content aggregators, notably:
In the end I settled for FreshRSS as I wanted an open source and self hosted solution which can also run on a shared web hosting plan. If you have different requirements than definately consider alternatives including these two.
I’m not using Docker in this setup as I might move my installation to a shared web hosting plan and share the installation with my family. I suggest you consider using Docker for your setup.
Installation instructions
Install the following packages on your Synology
- Web package
- Apache (I chose Apache over Nginx as Apache is recommended on the FreshRSS website)
- MariaDB
- PHP
- phpMyAdmin
Enable PHP modules
- Browse to the ‘Web Station’ from the Synology ‘Main Menu’.
- Go to ‘Script Language Settings’.
- select the PHP version you installed, select ’edit’.
- Enable: ‘curl’, ‘gmp’, ‘intl’, ‘pdo_mysql’ and ‘zip’.
Create a database
- Browse to the ‘phpMyAdmin’ from the Synology ‘Main Menu’.
- Login using root, without a password. If that doesn’t work use the steps listed here.
- Change the root password.
- Create a database for FreshRSS.
- Create a user for FreshRSS (I used FreshRSS).
- Give the newly created user permissions on the database created in step 4.
Set write permission on directory
FreshRSS requires write permissions on the FreshRSS directory (to be able to update the installation from FreshRSS itself). Create a directory in the /web/ location using ‘File Station’ and grant the ‘http’ user/group write permissions.
Deploy FreshRSS
Extract a download of FreshRSS in the directory created in the previous step.
Create a Vitual Host
- Browse to the ‘Web Station’ from the Synology ‘Main Menu’.
- Go to ‘Web Service Portal’.
- Create.
- I used a Port-based server (port 81).
- Document root: /web/<your FreshRSS directory>/p
Setup FreshRSS
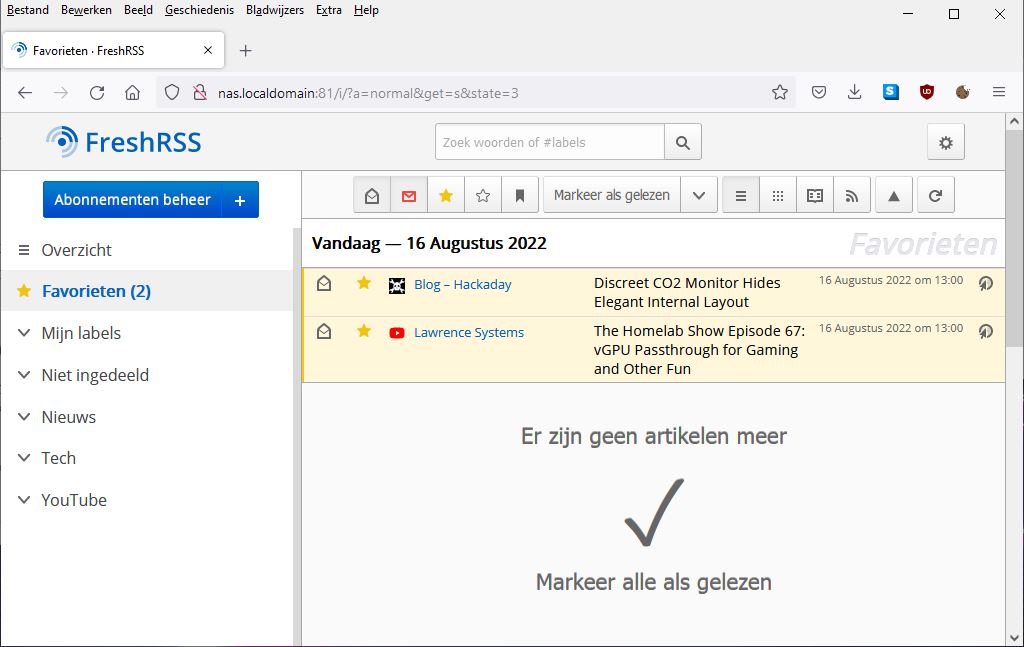
Browse to the virtual host and complete the setup Wizard. In my case: http://<hostname NAS>:81
Add FreshRSS plugings
I’m using the following FreshRSS plugins:
- YouTube/PeerTube Video Feed Simplifies the subscribtion to youtube channels.
- Auto Refresh Automatically refreshes an open FreshRSS tab once a minute. Does break any embedded Youtube video playing.
- Custom CSS Then use the css described here to get multi line titles on small screens (mobile phones).
Plugins need to be extracted to their own directories under /web/<your FreshRSS directory>/extenstion. Next you need to enable (and configure) the plugins in the ‘Extensions’ section of the the FreshRSS settings.
Create a FreshRSS update task
- Browse to the ‘Task Scheduler’ from the Synology ‘Control Panel’.
- Create a task to update FreshRSS. Command: ‘php80 /volume1/web/<your FreshRSS directory>/app/actualize_script.php’.
Enjoy your FreshRSS installation
Enjoy your installation of FreshRSS.
 Consider supporting any of the open source projects you used in these steps.
Versions
At the time of writing I’m using:
- DSM 7.1-42661 Update 3
- FreshRSS 1.20.0-dev
- Apache 2.4.51-0124
- MariaDB 10.3.32.1040
- PHP 8.0.17-0101
- phpMyAdmin 4.9.7-1032
History
2021-08-16 - Original blogpost